How to tie a Rope Dress
This post will take you behind the scenes of the creation of a rope dress. We will cover everything from the source image used for inspiration to the final steps of completing the tie. This post is intended for intermediate riggers or beginners who are ready to take their skills to the next level. If you are a complete beginner, you may still enjoy this post as a glimpse into the tying process, but it may not provide you with all the tools you need to recreate this tie on your own.
Final Tie Images
Source Images
I first came across this rope design on Hajime Kinoko’s Instagram page. Unfortunately, his page has since been deleted, so I don’t know if this design has been shared elsewhere. From the symmetry and errors I noticed, I’m guessing that this was an improvised web piece by Kinoko. I was drawn to it because it looked complex and I wanted to learn how to recreate it.

Analysis /Tracing
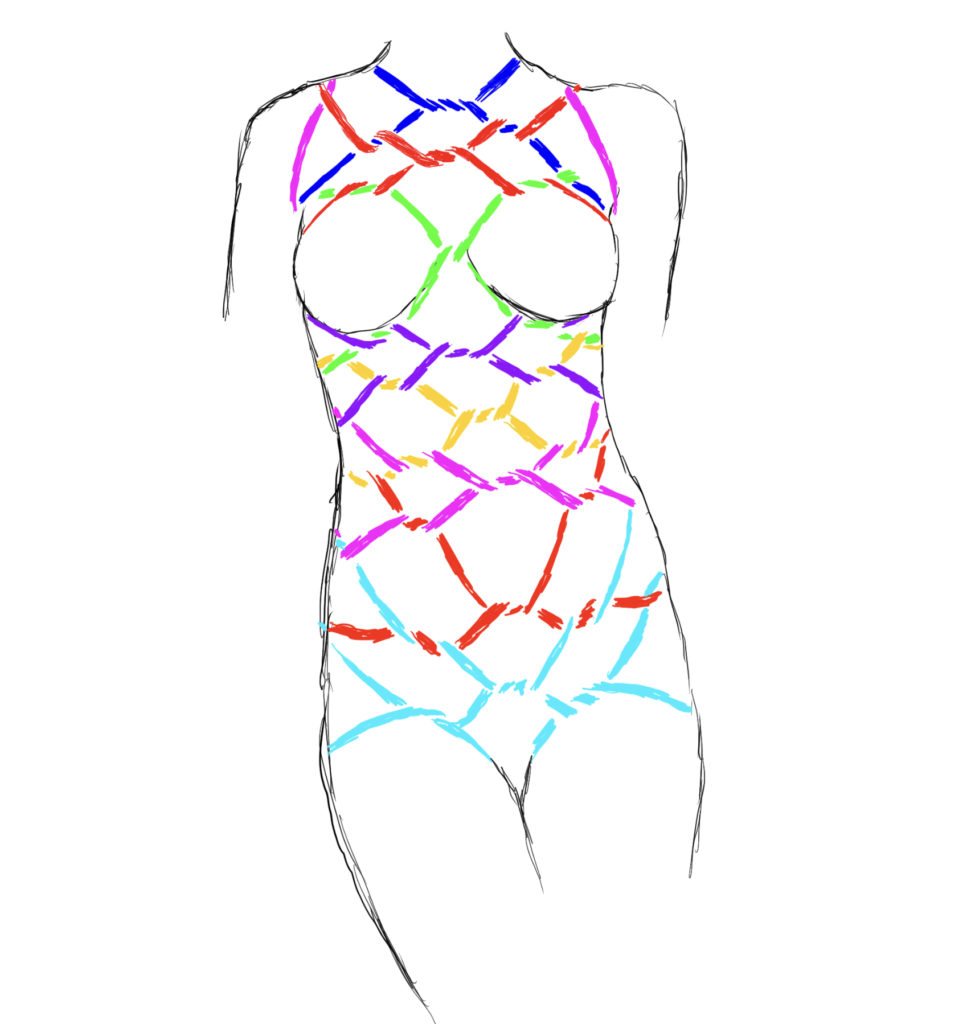
When I traced this tie, I discovered that it looks more complex than it actually is. This is often the case with ties – they become easier to understand when you break them down into smaller pieces. In the color-coded diagram below, you can see the underlying structure of the tie. It’s just a hishi pattern with twists instead of half hitches.
This tie only has one element, and the top section is a bit more complex, but once you get below the breasts, it’s quite simple. In fact, this tie can be tied surprisingly quickly, depending on your skill level. I didn’t time myself, but I was able to complete it in less than 15 minutes from start to finish.
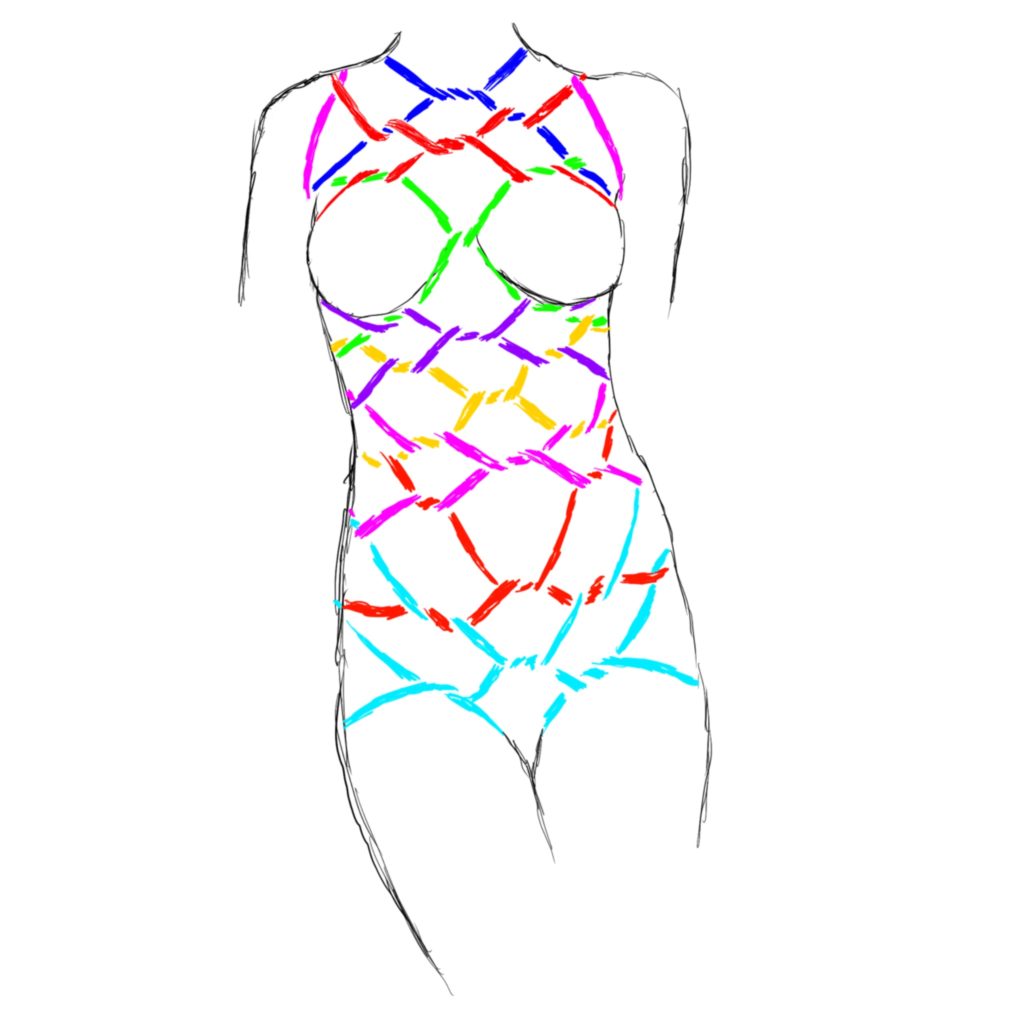
Below is a traced guide, along with text describing the process I used to tie this design. The traced guide is already color-coded, so I will only include it once, and then refer to the colors in the accompanying text.

The Rope Dress
Step 1: Blue neck line

- Start by making a bite in the rope between the shoulder blades. Run the rope to the left side of the neck and to the front, exiting under the right arm pit. Then, meet the loop in the back and go through it. Continue under the left arm pit, making a twist in front of the neck and exiting at the right shoulder. Finally, lock off the rope in the back.
Step 2: Magenta shoulder lines

- From the lock-off in the back, create two additional shoulder straps. Go through each arm pit and return to the back, repeating this process for each arm. This will create a network of ropes that forms the basis of the tie.
Step 3: Lime Green between breasts

3. From the junction in the back, go to the right and bring the line above the first breast, passing it between and under the second breast. Then, go around the back and reappear under the first breast, performing a loop between the breasts and exiting above the breast. Finally, return to the back.
Step 4: Top Red line

4. From the back, go to the right and perform a twist on the lime green breast line. Then, twist the blue line and exit under the magenta shoulder strap. Reverse tension in the back and go left towards the lime green breast line. Perform a twist on it, then on the red line we previously placed, followed by the blue and the magenta lines as shown in the picture. Finally, return to the back
Step 5: Purple Line

From the back, go to the right and to the front under the breast, forming a twist. Wrap the rope around the body, then return and perform a twist on the purple line you just made. Twist on the breast rope and exit.
Step 6: Yellow Line

Use the same steps as with the purple line, but start the twist on the lower lime green band as shown. Perform a twist on the purple line, then go behind the body and return to the front. Twist the yellow line, then the purple line, followed by the lower lime green line. Finally, return to the back.
Step 7: Lower Magenta Line

7. Come to the front and twist on the purple line, then the yellow line. Go around the body and repeat the previous steps.
Step 8: Lower Red Line

8. Same as Previous
Step 9: Cyan Line

From the back, go to the left and to the front. Twist on the lower magenta line, then on the lower red line. When viewing from the front, continue to the right leg’s outer thigh and go around it under the butt cheek, returning to the front via the crotch area. Perform a twist at the top of the thigh, then twist on the lower red line. Go around the back and reappear on the other side, twisting on the lower red line and heading towards the crotch area. Go around under the butt cheek and return from the outer thigh, performing a twist above the thigh. Twist on the cyan line we previously used, then on the lower red line, followed by the lower magenta line, exiting to the back. Finally, lock everything off and the tie is complete.
Final Result

Support Texas Shibari
If you enjoyed this post or found it helpful, please consider supporting Texas Shibari by visiting our Fansly page or making a donation. Your support and donations will help us continue to produce free tying guides for the community. Thank you for your support!